
Hair and Scalp Analysis: Tools for Aesthetic Practices
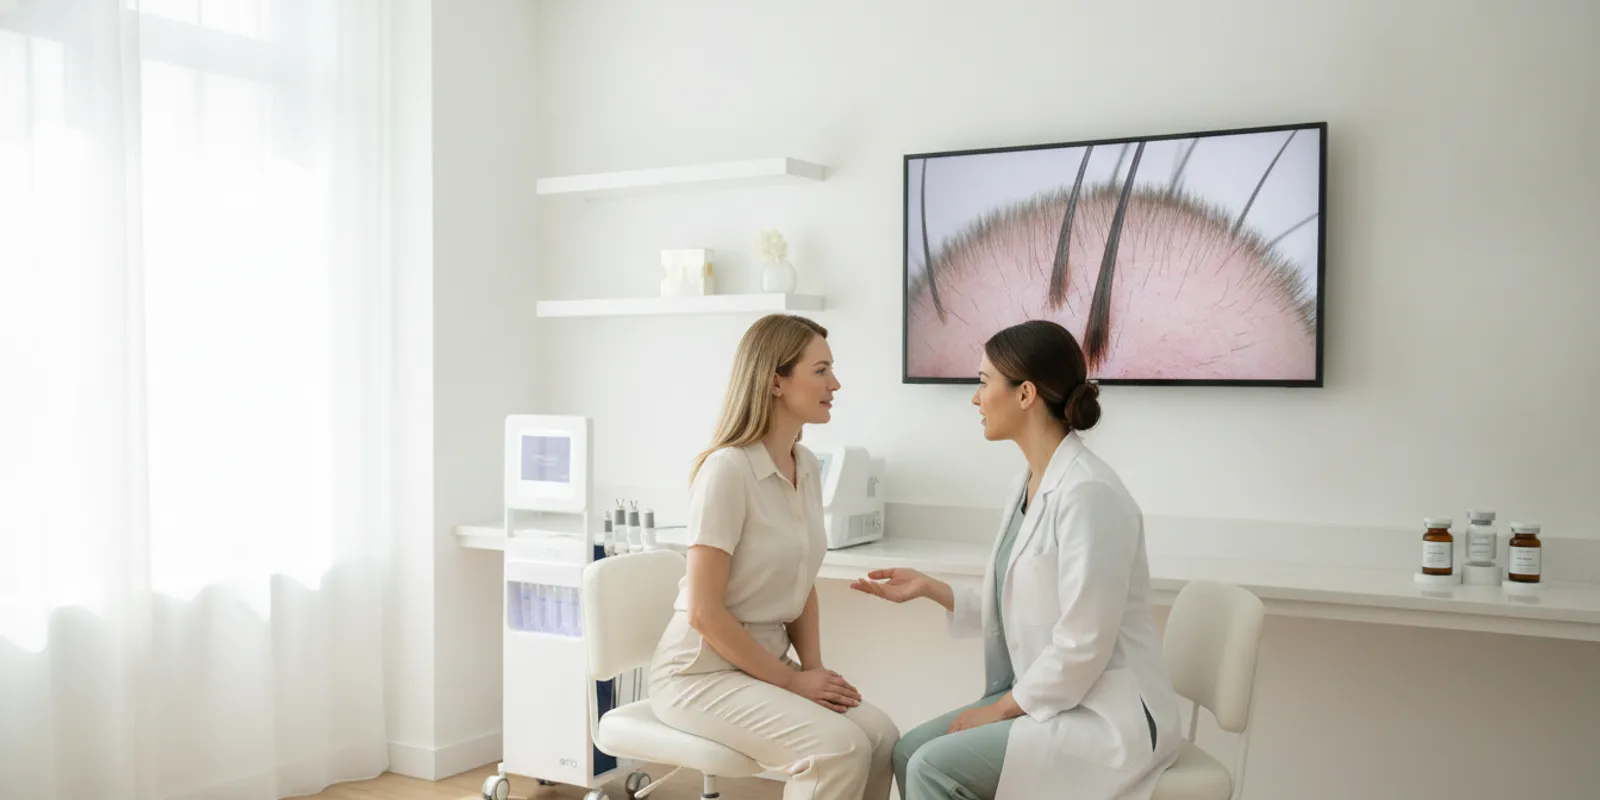
Hair and scalp analysis can help an aesthetic practice make consultations more structured: clarify a client’s concern, document visible observations, and decide on an appropriate next step. For practices evaluating imaging tools, the key is to use images as a communication and documentation aid—not as a stand-alone diagnosis or promise of a result.
Discuss hair imaging options with our team
What does hair and scalp analysis mean in a practice?
In a professional setting, hair and scalp analysis is a structured review of the visible hair and scalp. Depending on the practice and the equipment, the review may include unaided observation, photographs, or magnified images. The practitioner gathers relevant background, documents what was observed, and explains what an image can and cannot establish.
The term does not mean that a camera can determine every cause of hair shedding, changes in density, breakage, or irritation. Similar-looking concerns may have different explanations. An image can preserve a visual record of a selected area under particular conditions. It cannot, by itself, establish why a change occurred, predict what will happen, or determine a medical diagnosis.
That distinction should be clear from the start. A client may expect an imaging system to deliver a definitive answer. Explain that imaging is one component of a consultation, not a substitute for an appropriately qualified clinician’s assessment or a referral when indicated. A practice considering this service can review Emage Medical’s hair-restoration technology information as part of a broader evaluation of its scope and workflow.
How can imaging contribute to a consultation?
A visual record can make a conversation more concrete. Instead of relying only on memory or a broad description, the practitioner and client can look at selected areas together. This may help the client explain what they notice and help staff document what was visible on that visit. The value is in clearer communication and repeatable observation, not in turning a photograph into a diagnosis.
- Visual communication: A magnified view can focus a discussion on a specific area. The practitioner should describe the image in neutral terms and avoid inferring a cause from appearance alone.
- Documentation: A dated record can show what was captured at a particular visit. Obtain appropriate consent and follow the practice’s privacy, access, and retention procedures.
- Follow-up reference: Images made with comparable positioning and settings can support a visual comparison. They do not, on their own, prove that a service caused a change.
- Planning the next step: A structured review can help staff decide whether the next step is an additional discussion within the practice’s scope, a later image, or referral for clinical evaluation.
Keep notes descriptive. For example, record that an area was photographed at a specified location and that the image had glare or partial obstruction. Avoid converting that note into a statement about a condition, cause, or prognosis unless supported by an appropriate clinical assessment.
How should a practice structure the analysis?
A consistent process helps keep the consultation useful and prevents the equipment from leading the conversation. Adapt the workflow to the practice’s scope, applicable requirements, and the device instructions.
- Begin with the client’s concern. Ask what change the person has noticed, when they first noticed it, and what they hope to understand. Record these points as the client’s report, not as confirmed findings.
- Review context and escalation needs. Follow the practice’s intake and referral procedures. If a concern calls for medical evaluation, do not use image capture as a reason to delay that step.
- Explain the image process. Tell the client what the system will capture, how images may be used, who may review them, and what the images cannot determine. Obtain consent and apply the practice’s data-handling policies.
- Select and identify capture locations. Use a documented method for choosing the areas to image. If the practice expects to compare later images, record those locations and how they were identified.
- Standardize capture conditions. Follow the manufacturer’s instructions. Keep distance, angle, lighting, magnification, and hair positioning as consistent as practical. Note any meaningful variation.
- Review the images carefully. Check for focus, glare, obstruction, and other limitations. Describe only what is visible; do not present an automated label or image as a medical conclusion.
- Agree on a next step. Depending on the concern and the practice’s role, this could be a follow-up record, a discussion of an in-scope service, or referral to an appropriately qualified provider. Record the plan and who will follow through.
Training is part of the process. Staff need to know how to capture images consistently, obtain consent, handle records, use the device as intended, and recognize when a question is outside their role. Practices can review Emage Medical’s marketing and support resources when planning how education materials fit into implementation.
How do different approaches compare?
No single approach answers every question. The best fit depends on what the practice wants to document, who will use the record, and whether the concern requires clinical assessment. The table compares possible roles and limitations, rather than ranking one method as universally superior.
| Approach | Possible role | What to standardize or check | Important limitation |
|---|---|---|---|
| Unaided visual observation | Initial conversation and review of visible features | Lighting, positioning, neutral notes | Limited magnification and no consistent photographic record |
| Standard photographs | Document selected areas at a visit and provide a later reference | Distance, angle, lighting, location, consent, storage | Changing capture conditions can make comparisons misleading |
| Magnified hair or scalp imaging | Closer visual review and consultation support | Capture locations, magnification, image quality, workflow | Does not independently establish cause or diagnosis |
| Clinical evaluation | Assess concerns that require medical judgment | Appropriate provider, history, examination, referral pathway | Not replaced by cosmetic imaging or an automated output |
When reviewing a dedicated system, ask to see the actual capture process and resulting records. Check whether the views fit the practice’s use case, how staff review and save images, and whether the process is manageable during a typical visit. A feature list is less useful than seeing a team member use the system in a realistic consultation.
What should a practice evaluate in an imaging tool?
Start by writing down the intended use. Is the goal to make a client conversation more visual, create comparable records, or support a professional consultation about hair and scalp services? A clear use case helps separate essential functions from features that are not relevant to the workflow.
- Views and image quality: Ask what areas and details the system can capture. Request a demonstration using the views that matter to the practice rather than assuming a general camera will meet the same need.
- Repeatability: Find out how the system helps users keep location, distance, lighting, and magnification consistent. Consider whether different team members can follow the same protocol.
- Review and outputs: Determine how images are presented to staff and clients, and what any score, graphic, or automated description means. Do not portray a device output as a medical finding unless that interpretation is properly supported.
- Records and privacy: Ask how images are saved, retrieved, exported, and protected. Decide who may access them and how they will be handled under the practice’s policies and applicable obligations.
- Training and support: Clarify what onboarding is available, how staff learn the routine, and where they can get help with equipment or software questions.
- Visit flow: Map where capture and review happen: before the consultation, during it, or at follow-up. Include consent, image labeling, documentation, and the client discussion when estimating the time required.
- Fit with services and scope: Define the practice’s professional roles, escalation process, and referral pathway before deciding how imaging will be used. A tool does not establish staff qualifications or authorize a service.
Emage Medical’s ImagePro HairPRO information is a starting point for learning about its hair-imaging offering. Confirm current functions, intended use, and workflow directly from current product materials and a guided demonstration rather than inferring a capability from the product name.
How can teams make image comparisons more useful?
A before-and-after image can look persuasive even when the capture conditions differ. A changed part, lighting direction, camera angle, distance, hair styling, or magnification can change what is visible. A written protocol helps reduce avoidable variation and makes the limitations easier to explain.
For every session, note the date, area captured, relevant settings or conditions, and any departure from the routine. Use a consistent method to identify locations—for example, a written location label or a documented sequence of views—rather than relying on memory alone. If a later image cannot be matched closely, say that the comparison is limited.
Consider a simple follow-up scenario: a client returns and asks whether an area looks different. First check whether the original and current images show the same location at a similar angle, distance, lighting, and magnification. If so, you can describe the visible difference cautiously. If the conditions differ, explain that the images are not a reliable direct comparison and avoid claiming that a treatment caused the apparent change. In either case, clinical interpretation belongs with an appropriately qualified clinician when warranted.
Language can keep expectations realistic. A useful explanation is: “This image documents the area today under these capture conditions. It may help us compare a future image, but it does not tell us the cause of a change.” That is more accurate than a confident-sounding conclusion unsupported by the image alone.
What limitations and mistakes should practices avoid?
Confusing visibility with diagnosis. Magnification may make a feature easier to see, but visibility does not establish its cause. Use the practice’s clinical escalation process when needed.
Comparing inconsistent images. A comparison is weakened when location, angle, lighting, or magnification changes without documentation. When the conditions are not comparable, disclose the limitation instead of presenting the images as direct evidence of change.
Overstating a device output. A score, overlay, or automated description should be explained according to what the system actually provides. Do not turn an output into a diagnosis or outcome claim.
Skipping consent and data procedures. Images may be sensitive and identifiable. Explain the intended use, obtain appropriate consent, and follow established procedures for access, sharing, storage, and retention.
Letting the equipment define the service. Establish the practice’s scope, staffing, and referral route first. Then decide whether imaging supports that plan. Equipment does not establish qualifications or permission to provide a service.
Promising an outcome from a visual record. A photograph is not proof that a service will work or that an observed difference has a particular explanation. Keep discussions factual, individual, and within the evidence available.
For general information about the agency’s role in medical-device oversight and consumer health information, see the U.S. Food and Drug Administration. Practices should check the applicable requirements and the specific device’s current materials; this general resource is not a substitute for professional or regulatory advice.
How can HairPRO fit an equipment review?
Practices considering hair and scalp analysis can include ImagePro HairPRO in an equipment review while confirming its current capabilities, workflow, and intended use directly. Emage Medical presents it within its hair-restoration portfolio. Keep the evaluation focused on the practice’s capture and consultation needs, not on promises that images will diagnose a concern or produce a particular result.
Prepare a short requirements list before a demonstration: which views the team expects to capture, how images will be labeled and reviewed, how records fit into the client journey, and what training staff need. Ask to see a typical capture and review, and involve the people who would use the system. Also ask how the system handles image saving and export, then compare those steps with the practice’s data procedures.
Purchasing requirements should be verified directly rather than assumed. Practices can review Emage Medical’s customer registration and purchasing information and the company’s technology portfolio as part of that process. For an equipment discussion, use the product-tour option below.
How can a practice test the workflow before launch?
A short internal trial can reveal practical problems before the team relies on imaging during client visits. Choose a few sample scenarios that reflect different needs: a client who wants a visual record, someone returning for a comparison, and a person whose concern should be escalated for clinical evaluation. The purpose is to test the process, not to diagnose anyone from a sample image.
- Walk through intake and consent. Have a team member explain what the imaging session involves, how the images may be used, and how the practice handles them. Check that the explanation is easy to understand and that the required consent step is not skipped when the schedule is busy.
- Capture the same view more than once. Follow the written location and positioning method, then check whether another trained team member can reproduce it. Note where instructions are unclear, such as how to part or position hair, how to hold the device, or how to label the view. Use the manufacturer’s guidance for device-specific details.
- Review an intentionally imperfect image. Include an example with glare, blur, or partial obstruction. Ask the team to identify the limitation and decide whether to retake the image or document that the record is limited. This helps make image quality a routine part of review rather than an afterthought.
- Practice the explanation. Ask staff to describe what is visible without naming a cause or predicting a result. A useful explanation states the location and capture conditions and acknowledges uncertainty where appropriate. If the client asks for a diagnosis, staff should use the established escalation or referral process.
- Trace the record lifecycle. Follow the image from capture through review, storage, retrieval, and any permitted sharing or deletion. Confirm that the process matches practice policy, that access is appropriately limited, and that staff know whom to ask when a record cannot be found.
- Review time and ownership. Record how long each step takes and who is responsible for labeling, explaining, and documenting the next step. If the workflow adds friction, simplify it without removing required consent, documentation, or review steps.
For example, suppose the purpose of a visit is to establish a baseline image before later follow-up. The team can agree on a small set of repeatable locations, write down how each location is identified, and record the camera position and relevant settings. At the later visit, staff should first check whether they can reproduce those conditions. If they cannot, they can still document the current image, but should not describe it as a direct comparison. This simple distinction helps prevent a routine image from being mistaken for proof of an outcome.
After the trial, update the protocol with the questions that arose. Keep a concise reference for staff covering capture steps, image labels, consent, storage, image-quality checks, and referral boundaries. Revisit the guide when the device, team, or practice process changes. A consistent approach is more valuable than a complicated checklist that staff cannot use reliably.
Frequently asked questions
Can hair and scalp imaging diagnose hair loss?
No. Imaging can document visible features and support a discussion, but it does not independently establish the cause of hair loss or replace evaluation by an appropriately qualified clinician.
Can a practice use images to track changes?
Images can serve as a visual record when consent and data procedures are followed. Comparisons are more useful when the same areas and similar capture conditions are used. They should not be treated as proof of cause or treatment effect.
What should a practice ask before selecting a hair imaging system?
Ask about captured views, image repeatability, staff workflow, review and export, training, data handling, and the system’s stated capabilities. Request a demonstration that follows the steps your team would use in a typical visit.
Does an imaging tool determine whether a practitioner can offer a service?
No. A device does not determine professional qualifications or authorize services. Practices should verify applicable requirements and establish appropriate oversight and referral procedures for their setting.
Make the imaging process fit your practice
A useful hair and scalp analysis process combines clear communication, consistent image capture, appropriate documentation, and realistic limits on interpretation. Evaluate tools against those practical needs, verify specific capabilities directly, and treat images as one part of a professional consultation—not a standalone diagnosis.